Building a Wicking Bed
Wicking beds are a sustainable and effective means of growing your favourite plants while reducing water-use.
A wicking bed is a a self-contained garden bed with a reservoir in the bottom. Water is drawn up like a wick by capillary action. It allows moisture to distribute more evenly through the soil and you don’t need to water as regularly. Evaporation is reduced, making your wicking bed very sustainable!
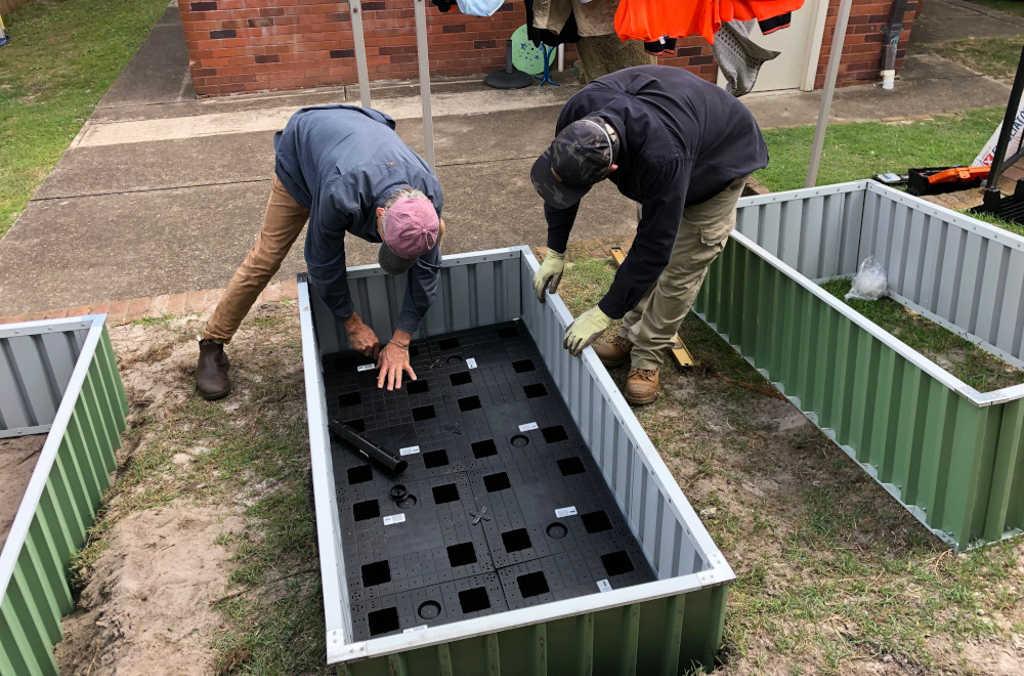
Pre-fabricated wicking bed - There are many ready-made manufactured alternatives for wicking beds. 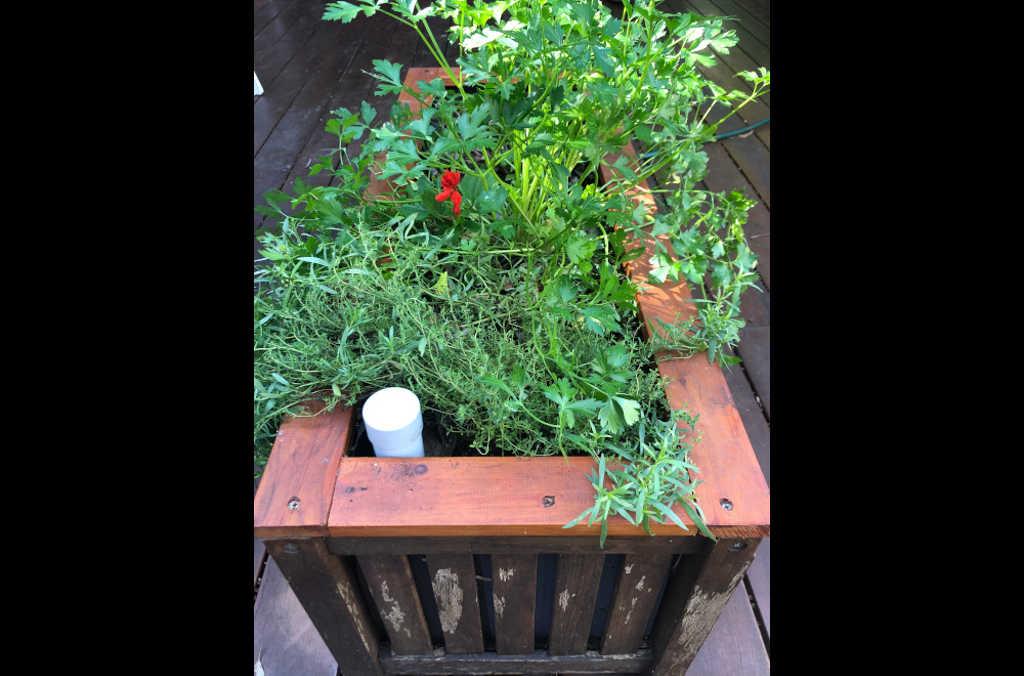
The water inlet - This wicking bed has a PVC pipe as its water inlet. 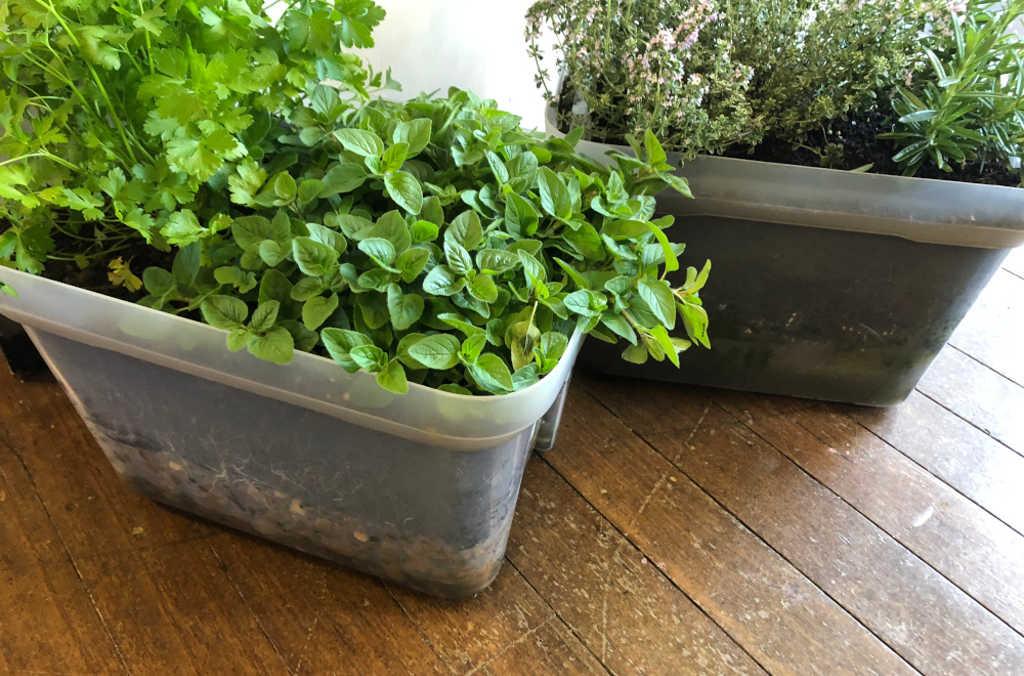
A wicking box - Wicking beds can be quite large, but the technique works equally well in small containers. 
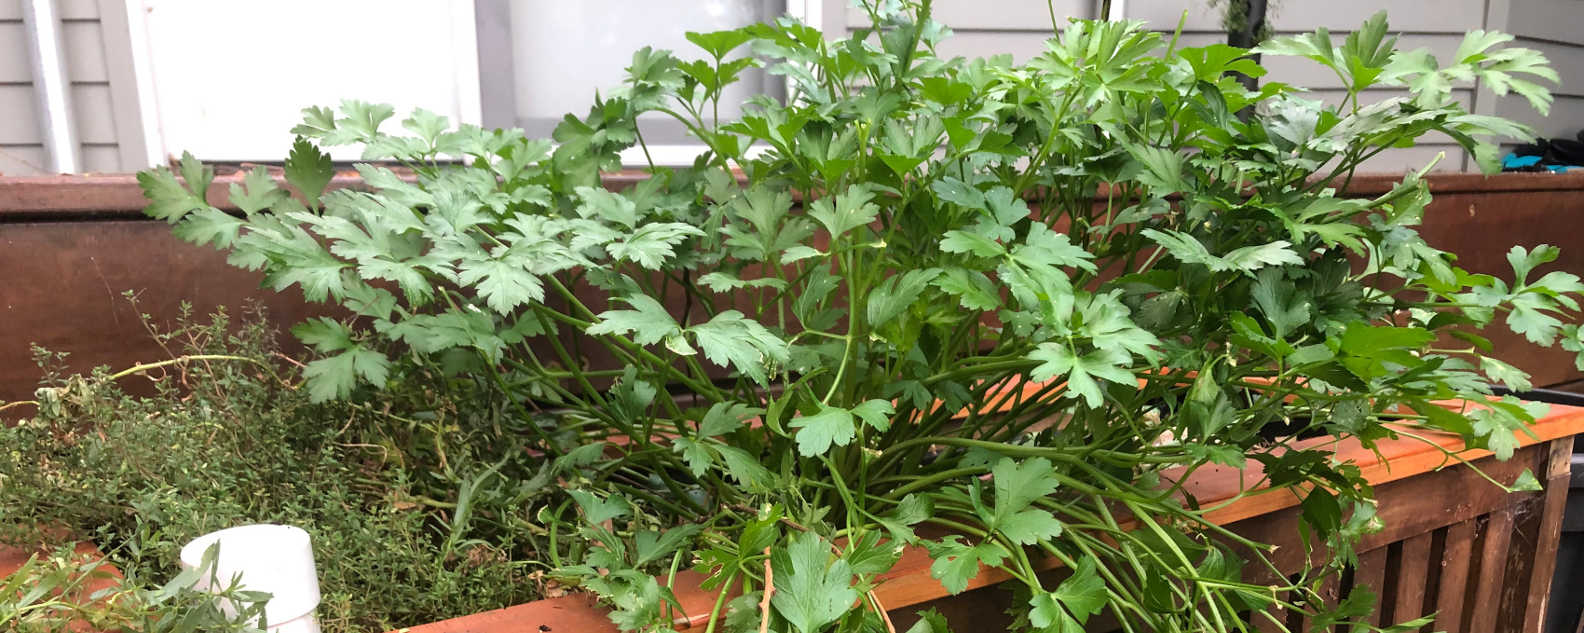
An example of a wicking bed at the Australian Botanic Garden Mount Annan.
Benefits of a Wicking Bed
- Water efficient - using up to 50% less water than a conventional garden bed by reducing surface evaporation
- Harder for weeds to establish as the soil on the surface is drier
- Self-watering, so it is possible to leave them for a week or two without the bed drying out
- They provide good drainage in the event of a heavy downpour
- Ideal for gardens near trees with invasive roots or invasive grasses as it is difficult for these to penetrate into a wicking bed
Build a Wicking Garden
Components:
You can construct your own wicking bed in a container or an existing raised garden bed, by adding just a few simple elements as shown here:
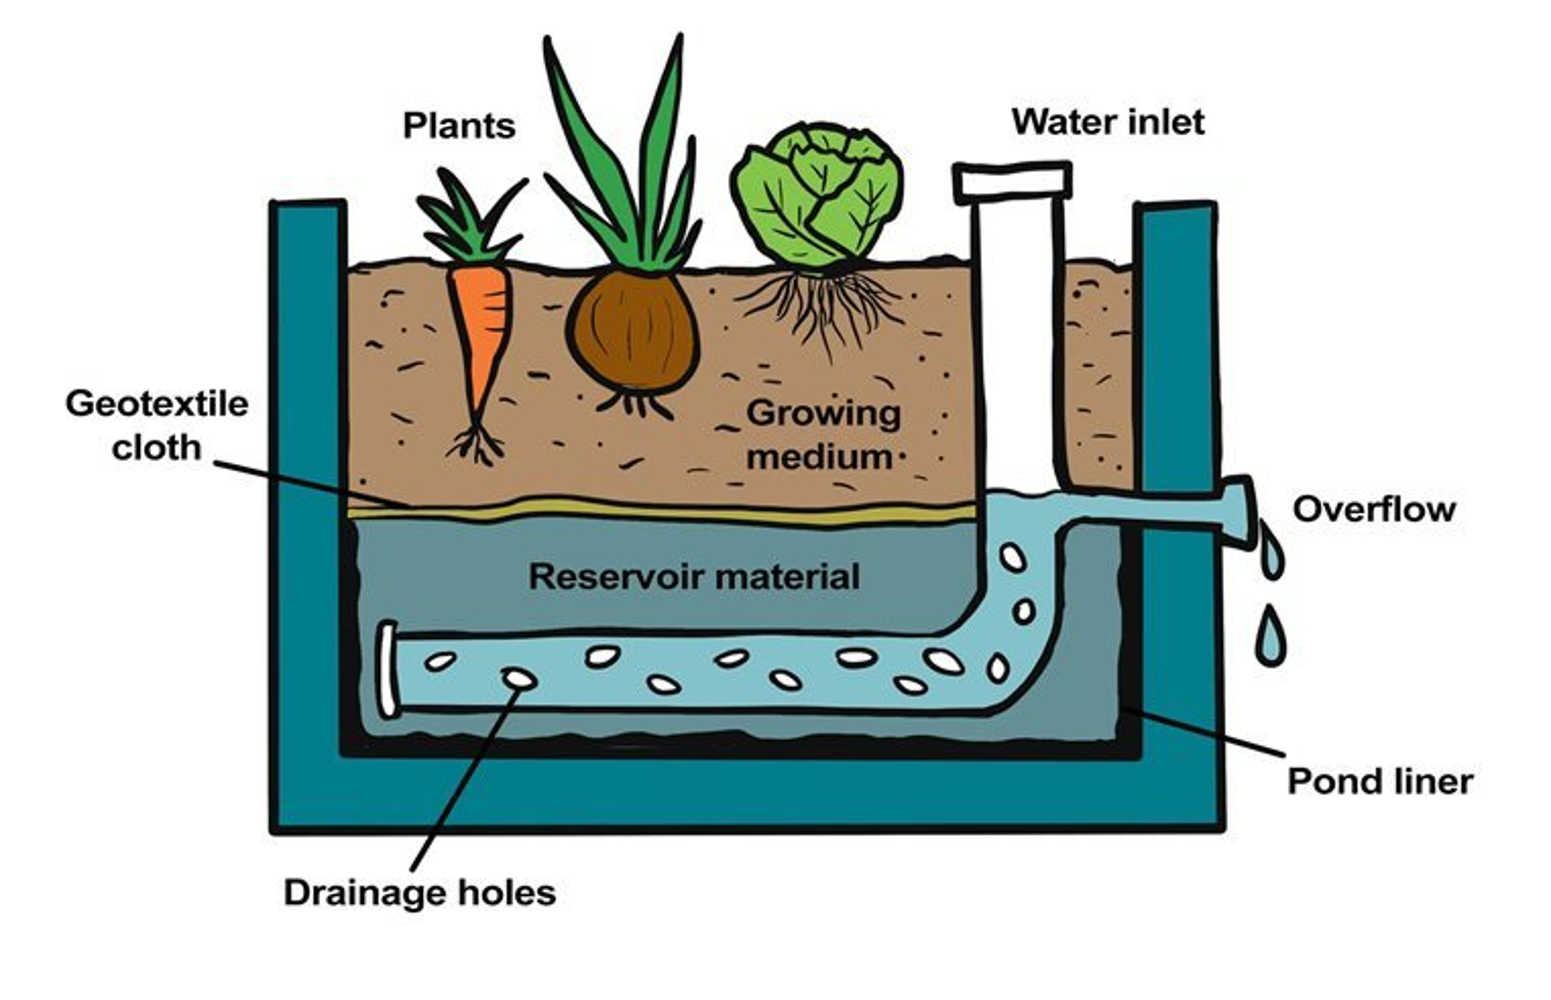
Construction:
- Install the liner: Water is required to sit in the ‘reservoir’ under the soil. Using pond liner or some other non-porous material, line the base and up the sides of the garden bed to the desired height of the reservoir.
- Create an overflow: If there is nowhere for the excess water to escape after heavy rain the soil will become saturated and will cause the plants to rot. Either drill a hole and fit a pipe at the top of the reservoir/bottom of soil or create your liner in such a way that the excess water simply overflows over the side.
- Install inlet pipe: An inlet pipe can be installed for quick filling. This will be held in place when you add the reservoir material (Step 4).
- Make the reservoir: A variety of materials can be used for the reservoir. Stones/pebbles are a popular material, as the water stores within the gaps, but be careful not to put a hole in the liner. Any recycled materials that are strong enough to hold the weight of the soil/plants but will allow water to be stored will work — old crates, ag pipe etc.
- Add the cloth layer: Geotextile fabric or enviro-cloth works well, as it allows water to flow through but holds the soil above — shade-cloth will also suffice. Lay the fabric layer over the reservoir — ideally you have enough of the cloth to tuck some down the sides of the bed so reaches the lower areas of the reservoir at the sides.
- Add the soil and plants: Once the reservoir is covered with the cloth layer, it's time to add the soil composition of your choice. A porous loamy soil is best in a wicking bed.
- Fill the reservoir: It’s now time to fill the reservoir with water. Once water begins to come out from the overflow area, it is full and the soil will begin to wick up to water your plants from below.
- Water from above for the first week or two, to ensure strong root growth.
Related resources
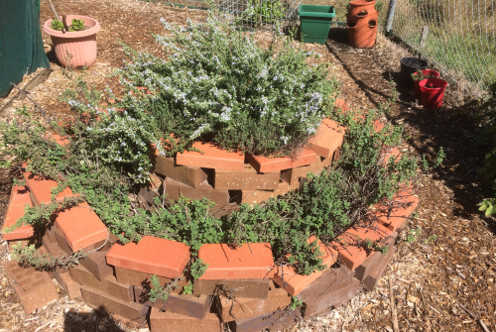
Herb spirals are space-saving, energy-efficient gardens designed to use nature’s forces to their advantage.
Gardening tips

Darren’s expert guide to what to do in your vege garden right now.
Gardening tips

Gardeners often express to us the benefits they experience when they are connecting with their gardens.
Gardening tips